Picky Kitchen Picky Kitchen

7 Best Ways to Sharpen Dull Kitchen Utensils and Shears?

Time:2026-09-16 Author:Mason
0%

Dull kitchen tools rarely fail all at once. A chef’s knife begins crushing tomatoes, a vegetable peeler drags across carrots, and kitchen shears start chewing instead of cutting. These small signs matter. They can encourage extra pressure, unstable hand positions, and careless movements near your fingers. Learning how to sharpen dull kitchen utensils and shears helps restore control, precision, and confidence without rushing the process.

Chad Ward, author of An Edge in the Kitchen, has said, “A sharp knife is a safe knife.” His point extends beyond knives. A properly maintained blade should cut with steady, predictable contact, not force. This guide examines seven practical methods, including honing rods, whetstones, ceramic sharpeners, and suitable shear-sharpening techniques. Each method has limits. A tool’s steel, bevel, damage, and intended use should guide your choice.

Small details make a difference. A whetstone needs consistent water and stable placement. Shears require careful attention to their pivot and cutting edges. Do not treat every utensil like a chef’s knife. That shortcut can remove useful metal or damage a serrated edge. Test the result on paper, herbs, or a ripe tomato, then inspect the edge under bright light. Improvement may be uneven at first. Mine sometimes is. That honest result is useful because sharpening is a skill, not a magic trick. With patience, basic safety habits, and reliable guidance, these methods can make dull tools feel controlled again.
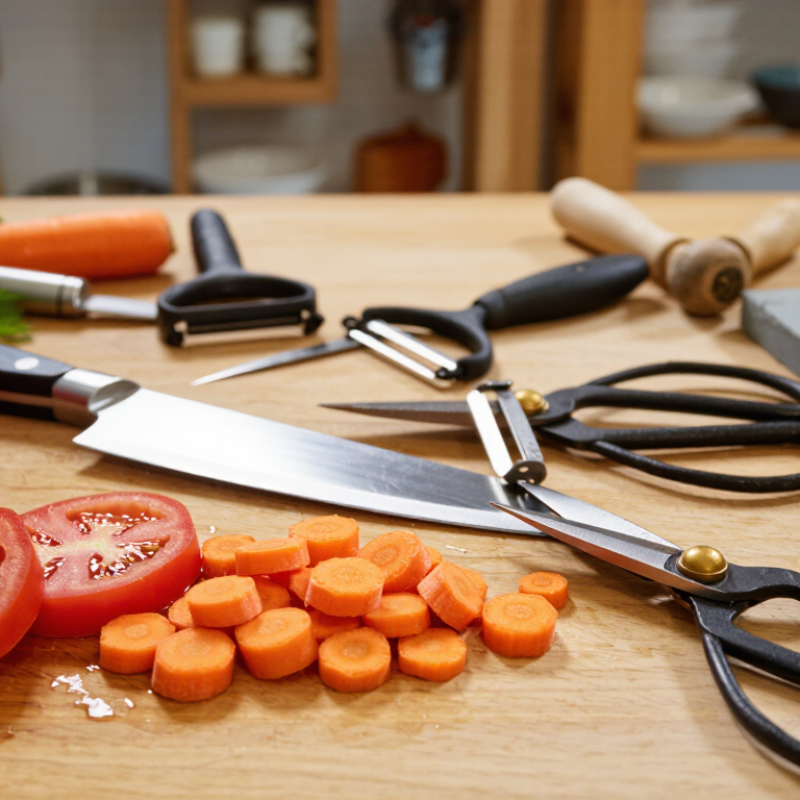
7 Best Ways to Sharpen Dull Kitchen Utensils and Shears?

Assessing Dull Edges and Preparing a Safe Sharpening Setup

Before choosing one of seven sharpening methods, inspect the edge under bright, direct light. A dull edge often reflects light as a thin, pale line. A sharp edge usually shows little reflection.

Do not test sharpness with your thumb. That habit causes avoidable cuts. Instead, slice a sheet of paper, a soft tomato, or a strip of cardboard. If the blade crushes, slides, or catches unevenly, it needs attention. Look for nicks, bent sections, rust, and a rolled edge. Shears require extra care because both blades must meet cleanly along their length. Close them slowly and watch for gaps.

Prepare a stable, uncluttered workspace before using a stone, rod, file, or manual sharpener. Place a damp towel beneath the equipment so it cannot wander. Keep the cutting edge pointed away from your body, and use good lighting. Wash and dry kitchen tools before sharpening them. For water stones, soak or wet them according to their instructions, then check that the surface is flat. A worn stone can create a misleading angle.

Wear eye protection when filing or repairing chipped metal. Keep loose clothing and children away from the work area. I sometimes rush the setup and regret it; even a careful technique becomes unsafe on a sliding surface. If a blade has a deep crack, severe bend, or missing metal, stop and seek qualified repair rather than forcing the edge back into shape.

Using Honing Steels and Ceramic Rods for Routine Edge Care

A dull kitchen knife often needs edge alignment, not aggressive sharpening. A honing steel can restore a slightly bent edge with controlled, light strokes. Hold the rod vertically on a stable board, then match the knife’s existing angle. Move the blade from heel to tip, keeping the motion slow and even. Five gentle passes per side are usually enough. Pressing harder feels productive, but it can damage the edge.

Ceramic rods offer a finer touch. They lightly remove tiny irregularities while refining the cutting surface. Use them for routine care on chef’s knives, paring knives, and some kitchen shears. Shears require extra care. Open the blades fully, hone only the beveled cutting surfaces, and keep the rod away from the flat sides. I once used too much pressure and created a rough patch near the tip. That mistake taught me to inspect the edge after every few strokes.

Tips: Wipe the rod before use. Keep the angle consistent. Test the blade on a sheet of paper, never your finger. If the edge has chips, deep dullness, or visible damage, honing will not solve it. A proper sharpening stone or professional service may be necessary. Ceramic can feel smooth while removing more material than expected, so occasional use is wiser than daily polishing. Stop when the blade cuts cleanly.

Sharpening with Whetstones, Diamond Plates, and Sandpaper

7 Best Ways to Sharpen Dull Kitchen Utensils and Shears

A sharp edge needs control, not force. My first mistake was pressing too hard and rounding the bevel. Start with a whetstone, soaking water stones as directed. Use a coarse side for damage, then a finer side for refinement. Keep a consistent angle, usually 15–20 degrees for kitchen knives. Make slow, even passes. Seven practical methods work well: whetstone grinding, two-grit progression, angle control, diamond-plate repair, sandpaper polishing, burr removal, and careful testing.

Diamond plates cut quickly and stay relatively flat. They suit hardened tools and heavily worn shears. Use light pressure. Excess force can remove useful metal.

For shears, separate the blades when possible, sharpen only the beveled faces, and keep the inner faces nearly flat. Wet-and-dry sandpaper wrapped around a firm block offers a low-cost polishing method. It works best for minor dullness, not deep chips. I still over-polish sometimes. Stop when the edge feels clean.

The U.S. Environmental Protection Agency’s 2024 food-waste assessment estimates that over 58 million tons of food entered U.S. landfills and incinerators in 2019. Sharper tools cannot solve waste alone, but better maintenance may support longer kitchen use. USDA food-safety guidance also stresses clean, dry equipment. Wash and dry utensils after sharpening. Test on paper or a tomato, never your finger. A burr can feel sharp while cutting poorly. That detail is easy to miss.

Applying Pull-Through and Electric Sharpeners Correctly

7 Best Ways to Sharpen Dull Kitchen Utensils and Shears

A pull-through sharpener is practical for mildly dull kitchen knives. Place it on a stable, dry counter. Hold the handle firmly, then draw the blade through the correct slot with light, even pressure. Do not saw back and forth. One slow pass is usually enough. Check the edge on paper before repeating. For shears, use a sharpener designed specifically for scissor blades. Standard knife slots can damage their cutting angle. Other useful methods include a whetstone, ceramic rod, sharpening file, honing steel, or professional servicing.

Electric sharpeners save time, but they remove metal quickly. Read the instructions carefully and select the slot for the blade stage. Most systems use coarse shaping, fine sharpening, and sometimes polishing. Keep the blade straight and move it steadily. Never force the edge into the machine. I once pressed too hard and created an uneven bevel, so patience matters. The motor may sound smooth while silently removing too much material.

Tips: Clean and dry each utensil first. Sharpen away from your body, and keep fingers behind the edge. Test a small section before treating the whole blade. Stop if the edge feels rough, overheated, or visibly uneven. Electric sharpeners are not universal; avoid using one on serrated blades unless its design allows it. A dull blade often needs sharpening, while a slightly blunt blade may only need honing. This distinction is easy to miss.

Restoring Kitchen Shears with Foil, Stone, and Dedicated Scissors Tools

Sharp shears should slice herbs cleanly, not crush their stems. I used foil for years. It helped briefly, but I mistook smoother cutting for genuine sharpening. Folding household foil several times and making repeated cuts can remove residue and slightly improve edge contact. It will not recreate a damaged bevel. Use this method only for light maintenance.

A sharpening stone offers better control for detachable kitchen shears. Open the blades, match the original angle, and move each cutting edge across fine abrasive stone strokes. Keep the thumb hole away from the abrasive surface. A dedicated scissors tool is safer for non-detachable shears because it guides the angle consistently. Food-contact tools also need washing, complete drying, and careful reassembly. The U.S. Department of Agriculture estimates that 30–40% of the food supply is lost or wasted. Precise cutting cannot solve that problem, but reliable utensils may reduce bruising, ragged cuts, and avoidable trimming.

Tips: Test on paper, not fingers. If the blades snag, stop and inspect the pivot. A tiny drop of food-safe lubricant can improve movement, but excess oil attracts dust. I sometimes sharpen too aggressively; that mistake makes the edge worse. Five gentle passes are usually better than twenty hurried ones. Replace severely chipped blades when safe restoration is no longer realistic. EPA’s 2023 Wasted Food Scale places prevention above disposal, so maintaining useful tools supports a broader, practical waste-reduction habit.

7 Best Ways to Sharpen Dull Kitchen Utensils and Shears

Practical comparison of common sharpening methods for kitchen knives, scissors, and shears. Scores reflect control, accessibility, and suitability for routine home maintenance on a 1–5 scale.

How to read the chart: Whetstones and dedicated scissor tools provide the greatest edge control, while foil is best viewed as a light-maintenance method rather than a replacement for true sharpening.

FAQS

When should I use a honing steel instead of a sharpener?

Use a honing steel when the edge feels slightly blunt or bent. It realigns the edge without removing much metal. Five gentle passes per side are usually enough. Do not press hard.

How should I use a honing steel safely?

Place the rod vertically on a stable board. Match the knife’s existing angle. Move from heel to tip slowly and evenly. Keep your fingers behind the edge. Test the knife on paper, never your finger.

What makes a ceramic rod different?

A ceramic rod refines tiny irregularities and removes small amounts of material. Use it occasionally, not every day. It suits many kitchen knives and some shears. Smooth movement matters.

How can I hone kitchen shears correctly?

Open the shears fully. Hone only the beveled cutting surfaces. Keep the rod away from the flat sides. Use light pressure. I once created a rough tip patch by pressing too hard.

When is a pull-through sharpener suitable?

It suits mildly dull kitchen knives. Place it on a dry, stable counter. Draw the blade through the correct slot once. Do not saw back and forth. Check the edge before repeating.

Can I use a knife sharpener on shears?

No, not usually. Use a sharpener designed for scissor blades. A standard knife slot may change their cutting angle. The wrong tool can make cutting worse.

What should I know about electric sharpeners?

Electric sharpeners remove metal quickly. Follow the instructions and choose the correct stage. Keep the blade straight and steady. Never force it into the machine. The motor can hide excessive material removal.

How can I tell whether sharpening is necessary?

A slightly blunt edge may only need honing. Chips, deep dullness, or visible damage require real sharpening. A stone or professional service may help. I still find this distinction easy to miss.

Conclusion

Learning how to sharpen dull kitchen utensils and shears begins with identifying the condition of each edge and preparing a stable, well-lit, and safe workspace. Routine maintenance can be handled with a honing steel or ceramic rod, using controlled strokes to realign rather than remove excessive metal. For more serious dullness, whetstones, diamond plates, or fine sandpaper can gradually rebuild a sharper edge when used with consistent angles, light pressure, and proper lubrication where appropriate.

Pull-through and electric sharpeners may offer convenience, but they should be used carefully and according to their operating instructions to avoid uneven edges or unnecessary material loss. Kitchen shears require separate attention: cutting folded foil may provide light maintenance, while a sharpening stone or dedicated scissors tool is better for restoring a damaged edge. After sharpening, clean and dry each utensil, test it safely on suitable food or paper, and store it securely to preserve its performance.

Mason

Mason

Mason is a seasoned marketing professional with a deep expertise in the company's offerings and a passion for driving brand awareness. With a strong background in digital marketing strategies, he has an innate ability to connect with diverse audiences and effectively communicate product benefits.......